Customising your guidebook - the complete tutorial
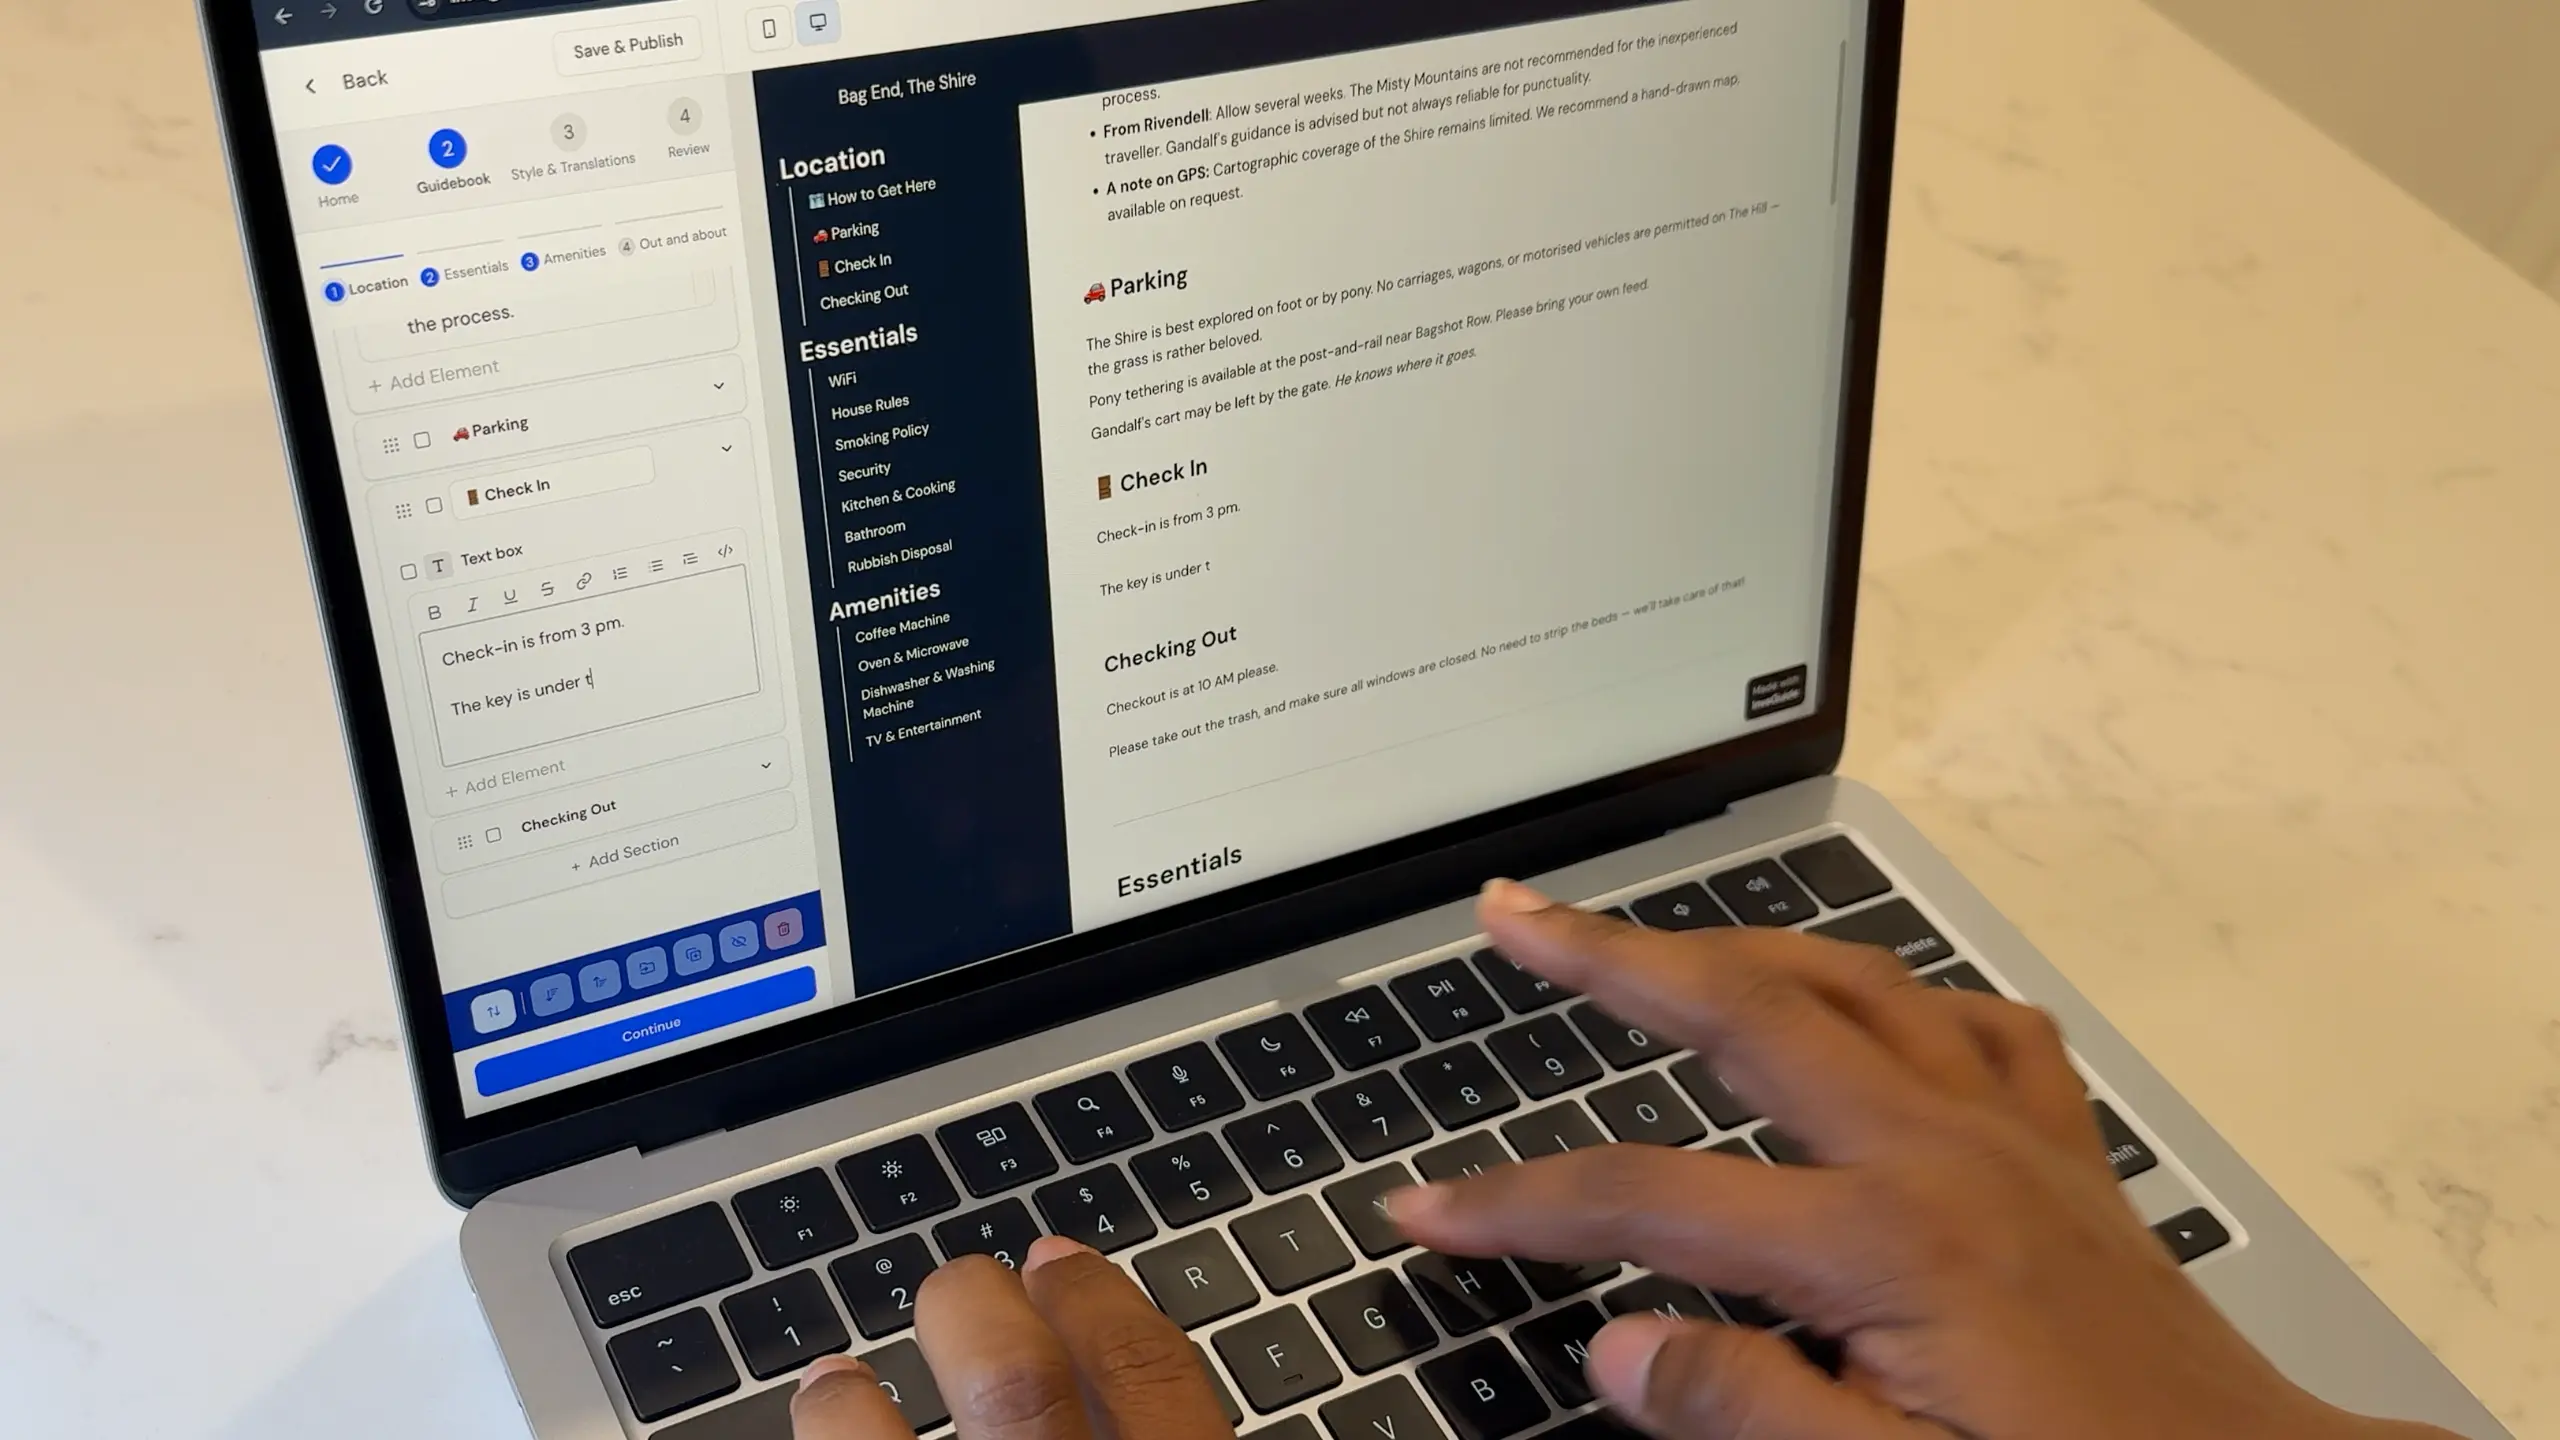
If you’re new to InvoGuide, this guide will help you create a complete guidebook for your guests. We’ll cover how to edit your guidebooks, publishing and sharing them with your guests, the optional premium features, and printing a PDF and a QR code of your guidebook.
You might be editing a draft, or a published guidebook. Or you might be starting from scratch. Either way, this article will give you a good understanding.
Every part below has its own short article and video if you want the detail, but this article will help you get started.
Watch the Complete Tutorial
Signing in and finding your guides
To get started, visit our portal at invo.guide. Just note, this is different from our main website, invoguide.com.
Once you’re in the portal, click Sign in at the top right, then sign in with your email and password.
Start at your dashboard. You’ll see all your guides here. Click the edit button on the one you want to work on.
On the left, you’ll find the editing panels. On the right, you have the preview screen. The preview shows all your changes instantly, and you can switch between mobile and desktop modes to see exactly how your content appears to your guests.
There are four editing panels: Home, Guidebook, Style and Translations, and Review.
The Home panel
This is where your property details live.
- Property Name is required. It gives your property, and your guidebook, its own personality.
- Property Tagline is a short line that captures the vibe of your place, like a little slogan.
- Guidebook Link is a Pro feature. It lets you set a custom link to your guidebook.
- Welcome Message is where you leave a friendly note for your guests.
- Social and web links is where you connect your social media pages.
- Contact Message is required too. Use it to tell guests how to reach you if they need anything.
- Contact Methods covers Phone calls, Messages, WhatsApp Messaging and Emails. Add as many as you like.
- Emergency Message tells guests what to do in an emergency. It’s worth including local emergency numbers, escape routes from the property, and your address, so guests can pass it on quickly.
- Emergency Contact Methods is where you set your emergency numbers, so they’re easy for guests to find.
The Guidebook panel: groups and sections
This is where your information sections live. InvoGuide keeps things tidy with four groups: Location, Essentials, Amenities, and Out and About. Every section, from parking to your coffee machine, lives in one of them.
Just open a group to edit a section or add your own. Say you need a new section for pets. Add the section, rename it, then paste your text into the text box. It appears in the preview straight away.
Click Add element to keep building. You can add as many elements as a section needs.
There’s no limit on how many sections or elements you can create, even on the free version.
Elements: text, images, buttons and videos
Elements are your images, text boxes, buttons and videos. Every element lives inside a section.
Text boxes. When it comes to text, less is always better. Your guests will skim, so make the key details bold and break longer text into lists. Every bit of text inside a section sits in a Text Box. You can make the text bold, italic or underlined, add links, and create numbered and bulleted lists.
Images. Images need to be JPEG or PNG. Select your files, adjust the crop, and upload. You can add more than one image to the same element, and you’ll crop each photo in turn. Once they’re uploaded, drag and drop to change the order, or click the cross to remove one.
Buttons. Use buttons for anything a guest needs to tap: a website, a map location, or a phone number. To add a map location, give the button a name, then paste the link you copied from Google Maps. Click the button in the preview pane to check it works.
Videos. Videos embed from YouTube, as long as the link is Public or Unlisted. Paste the link into the field, and the video pops up in the preview pane, where you can play it to check it works.
The Action bar
The Action bar handles the rest.
- Reorder is the first button. Use it to reorder the sections and elements within the group you’ve selected.
- Delete removes any section or element you select. Deleting is permanent and can’t be undone.
One habit worth keeping. When you’re selecting, glance at the top of the group for “Deselect all” before you start. If it’s showing, some sections or elements are already selected, and you don’t want to act on those by mistake.
For a more detailed version of all the Action bar functionalities refer to How to reorder, move, and manage sections with the Action bar.
Styles and Translations
Background Image is what guests see on the home page of your guidebook. Drag and drop an image straight into the box, or click “Browse your files here” to pick one from your computer. You can crop the image before it uploads. If you skip this, InvoGuide uses a default background instead. You can update it even on the free version.
Translations are a simple way to welcome international guests in their own language. Switch translations on to enable automatic translations on your published guidebook.
Review and Publish
When you first start creating your guidebook, it’ll be in Draft mode. To make it available to your guests, you need to publish it.
Once you’ve finished your edits, open the Review panel and click the Publish button. You’ll choose your plan, agree to the Terms and Privacy Policy, and click Subscribe.
If you started building without logging in, you’ll be asked to log in or create your account at this point.
What opens up once you’re published
Once you’re published, three things open up.
Your share link. This is unique to your guidebook, and it’s ready to be pasted into your Airbnb quick replies. Sending it right after a guest books works well, while they’re most excited about the trip. Click the icon to copy it, or open it in a new tab to see exactly what your guest will see.
A QR code. Print it and display it around your property, so guests have easy access to your guide. It cuts down on the questions you get, and gives every guest a helpful experience.
A PDF download. Handy if you’d like a printed copy on site. Any time you update your guidebook’s content, you’ll need to generate a fresh one. And any links you’ve placed in the digital version become QR codes in the PDF.
Questions
Do I need to publish before I can share, print or generate a QR code? Yes. Your share link, QR code and PDF become available only once your guidebook is published.
How many sections, images, text boxes, buttons and videos can I add? There’s no limit, even on the free version.
What image files can I use? JPEG and PNG.
Can I undo a delete? No. Deleting is permanent, so check what you’ve selected before you confirm.
Which features cost money? Custom Guidebook Link is a Pro feature and so is Automatic Translations. Sections, elements, images and the background image are all available on the free version.
Where to go next
That’s the full picture. Every one of these has its own short video if you want the detail, and you’ll find the full playlist on our YouTube channel.
There are blog articles for each one too, at invoguide.com/product-help. And if you get stuck, we’re always here to help at support@invoguide.com.
Create yours today at invo.guide. Unlimited free guidebooks, forever.

Pula Panamgama
Co-Founder & CEO
Pula is the Co-Founder and CEO of InvoGuide, leading the company's vision to make hospitality profitable and sustainable through digital innovation.
Connect on LinkedIn